The documentation below refers to an older legacy version of the Photocrati Theme. We recommend that you upgrade to Photocrati Pro and enjoy our new Ecommerce system NextGEN Gallery with NextGEN Pro.
--
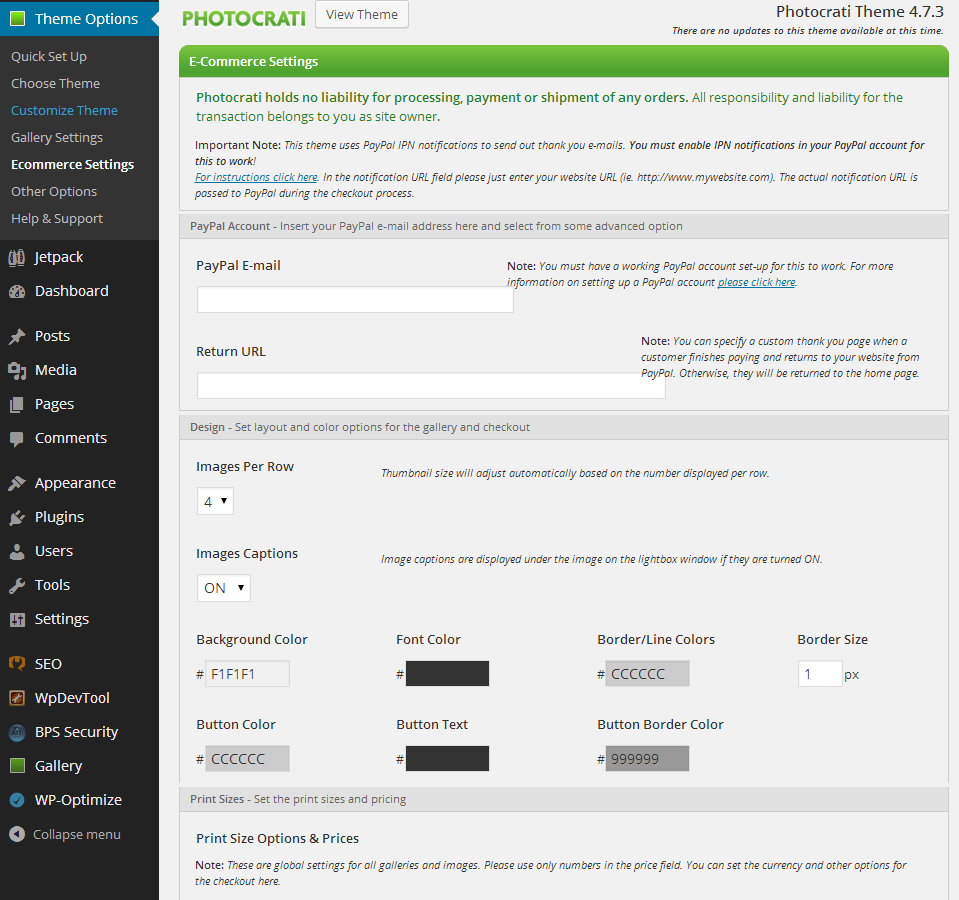
We've made adding an e-commerce gallery to your site very easy. It's near identical to adding a normal gallery. Most of the work is applied in the e-commerce settings under 'Theme Options'.
1) Follow the instructions where guided in setting up your PayPal Account, input paypal email address, and your 'thank you' landing page URL address
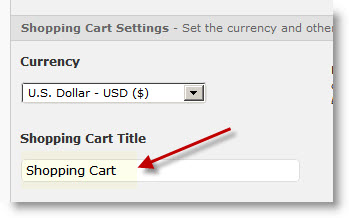
2) 'Shopping Cart Page', if it did not automatically create one for you, you can set your own. Name the page here:

*IMPORTANT - If you want to hide your 'Shopping Cart' page from your site navigation menu, please follow the steps here to create a custom menu. Otherwise by default it will be included in your site navigation. Also, the ONLY page that should have the 'Shopping Cart' page template, is this Shopping Cart page. The Shopping Cart page should also be EMPTY.
3) Style your gallery by selecting the background and border colors and images per row
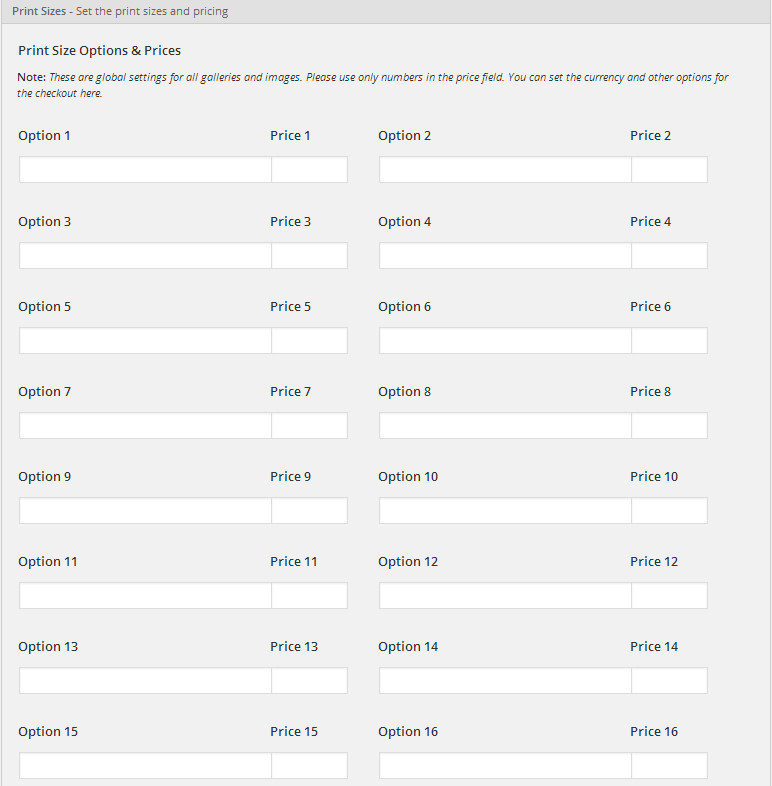
4) Set your global print sizes & prices
5) Set tax, shipping and checkout note & you're finished setting up your e-commerce
Inserting e-commerce Gallery to Page
1) Go to your Pages >> Add New, and give your page a title. For example 'Prints'
2) Click on 'New Photocrati Gallery/Album' > Title the gallery > Select 'e-commerce gallery' > upload images
3) 'Save changes' then click below to 'edit gallery'
4) Select 'edit meta data' and provide a title/alt tag and description for each print for sale
*Note: Shopping Cart will take details you apply to the image when you receive order information. Details will also appear in the caption area of the lightbox display
5) Save changes, and then 'Publish'
You're done! 🙂
MORE E-COMMERCE GUIDES:

