Are you ready to install Photocrati? If you’ve already purchased the theme, and you’re not sure what to do next, this tutorial will walk you through the steps you need to install Photocrati on your WordPress site.
Once you’ve purchased the Photocrati theme, you’ll need to install it into your WordPress site.
Here, we’ll discuss how to download, install, and verify your theme so that you can get the most out of it.
Download Photocrati
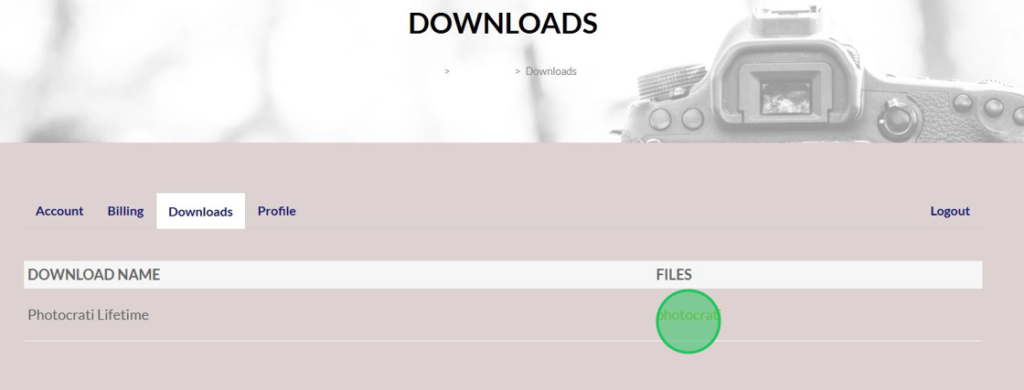
If you plan on installing the theme, then log into your Photocrati Account. To download the package from the Photocrati, click on the Downloads tab.
Here, you’ll see the available theme files that come with the plan.
Click the Photocrati link to download the theme file.

The Photocrati theme will download to your computer as a .zip file. This is the file you’ll be uploading into your WordPress.
Some browsers will automatically unzip any downloaded files. If this happens, just re-zip the download.
Install and Activate the Photocrati Theme
For the Installation Process, please follow the steps below:
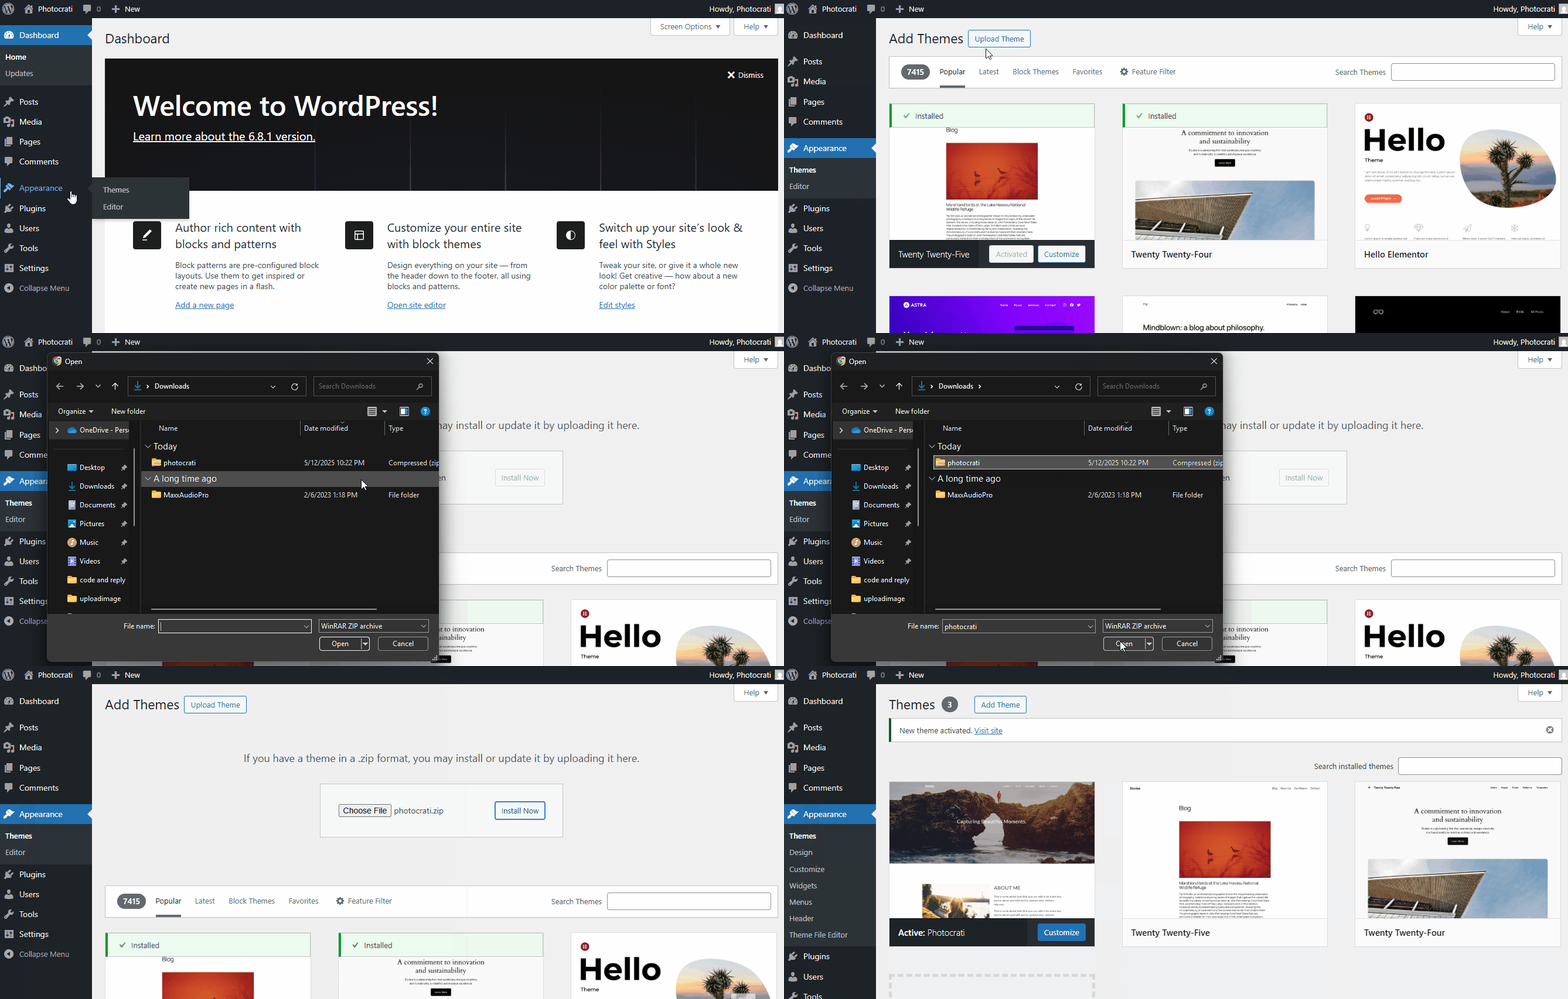
- Navigate to the WordPress Dashboard
- Click on Appearance > Themes
- Click Add New Theme
- Click on Upload Theme > Choose File
- Choose the
photocratitheme zip file from your local computer. - Click Install Now for the installation process.
- Hit the Activate button to apply the theme.
